1
Upload Your Artwork
Upload the photo or design you want to screen print - portraits, logos, illustrations, or text.
Transform photos into screen-printable stencils. Clean single-color designs for t-shirts, posters, and merchandise.
Updated · Free · No signup
Drop your photo here
or click to browse
PNG, JPG, WEBP up to 10MB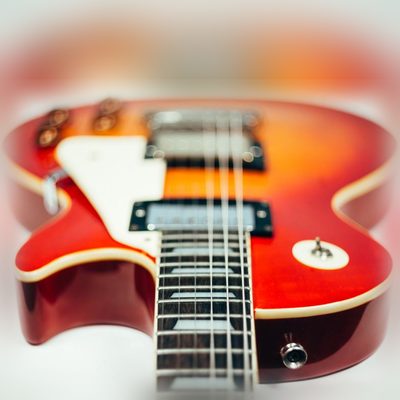
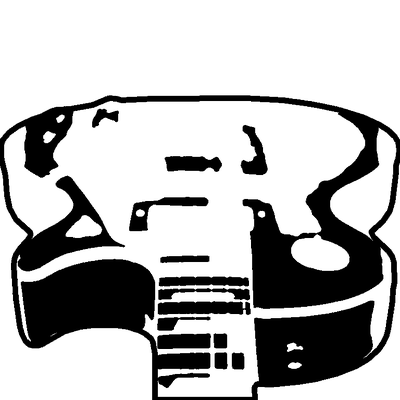
AI handles the complex image processing automatically
Upload the photo or design you want to screen print - portraits, logos, illustrations, or text.
Crop to the exact design area. Consider your print placement on the garment or substrate.
AI converts your photo to a clean single-color stencil design optimized for screen mesh exposure.
Download the SVG or high-contrast image, print your film positive, and expose your screen.
Designs are optimized for screen printing - clean edges, solid fills, and appropriate detail level for mesh exposure.
Set the Darkness of a solid stencil or the dot size of a halftone to suit your mesh: bolder shapes and larger dots for lower mesh counts.
Solid shapes and round halftone dots reproduce well through screen mesh without clogging or breaking up during the print run.
Clean up your design, remove unwanted elements, or strengthen thin lines using the built-in editor.
Output works with any screen printing workflow - manual or automatic presses, film positives, and CTS systems.
Skip the Photoshop separation step. Go from photo to print-ready stencil entirely in your browser.
Yes. The Stencil tab gives a solid two-tone design and the Halftone tab turns shades into dots of varying size; both print with one screen and one ink. Halftone keeps the gradients of a photo, while a solid stencil gives the boldest, simplest print.
For the solid stencil, a 110-160 mesh works well for most garments. The halftone is a coarse screen, at most about 170 rows of dots across the whole design, so at usual shirt print sizes it holds on the same mesh; a small print at the smallest dot size may need 200 mesh or finer.
A screen does not need them: the mesh holds every island of emulsion in place, so bridges would only print as gaps in the design. If you are cutting a physical stencil instead, tick Bridges on the result screen.
Most screen printers work with high-contrast black and white artwork. Our SVG output is perfect because it produces clean, scalable artwork that prints sharp film positives at any size. You can also export as a high-resolution PNG for RIP software.
For multi-color prints, download the same photo at several Darkness settings to create separate layers. Each layer becomes a separate screen. For spot color work, you can also edit the output to isolate specific elements for each color.
Detail limits depend on your mesh count and ink type. With a 230+ mesh and plastisol ink, you can hold lines as thin as 0.5pt. For standard 110 mesh and water-based ink, keep minimum line width around 2pt. Use the Darkness and Dot size settings to match the design to your setup.
While this tool is designed for screen printing stencils, the output can also serve as artwork for DTG (Direct to Garment) printers. DTG printers accept raster images, so export the design as a high-resolution PNG. The clean single-color output works especially well for single-color DTG jobs.
Upload your image now and get a professional vector file in seconds